
Easy
Makes: 70
-
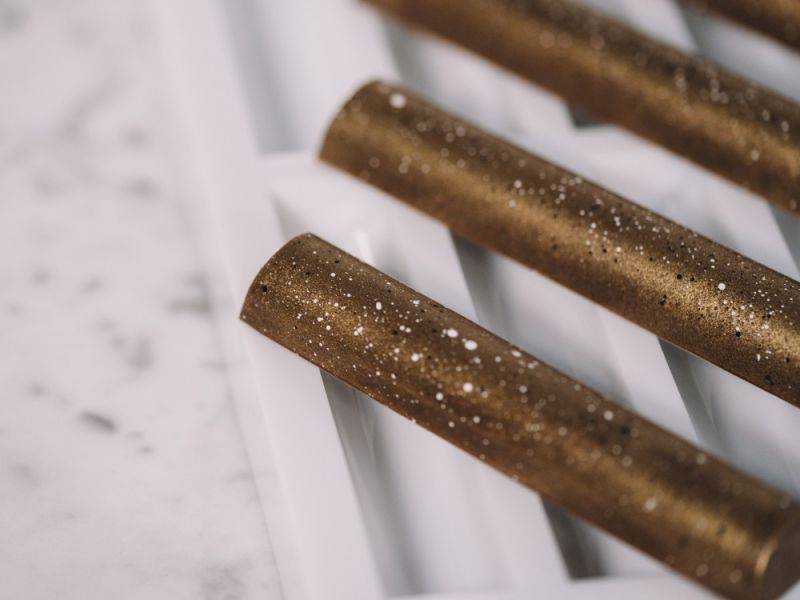
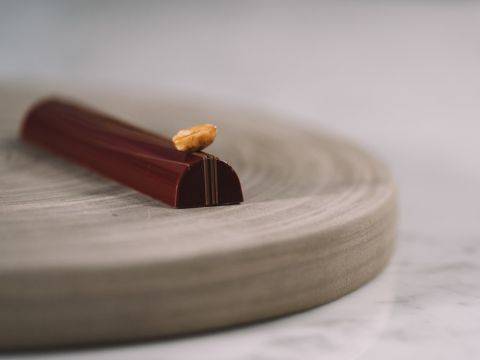
Timeless Classics
These bars feature a classic praliné filling, but with an added crunchy texture customers will love.These bars feature a classic praliné filling, but with an added crunchy texture customers will love.
- Shelf life:
- 6 Weeks
- Conservation:
- Between 8ºC - 16ºC
Containing: 3 Components

Molding
Ingredients: Molding
-
Q.S.IBC Black cocoa butter
-
Q.S.IBC White cocoa butter
-
Q.S.gold powder
Preparation: Molding
- Using a soft cloth, polish the molds to remove any dust or traces of chocolate from the previous use.
- Pre-crystallize the black and white cocoa butter and make sure they are completely melted at 40°C (104°F).
- Pour each of the colored cocoa butter into a piping bag and cool them off on the table until reaching 29-30°C (84-86°F).
- Transfer them back into the bottles, shake well and place back into the warmer at 30°C (86°F).
- Cover the table with plastic film and apply pre-crystallized brown cocoa butter onto the mold using a flecking motion and a gloved hand. Place the mold upside down onto a paper towel and clean the mold well.
- Repeat the same procedure with the pre-crystallized white cocoa butter.
- Let the molds set at room temperature until the cocoa butter fully crystallizes.
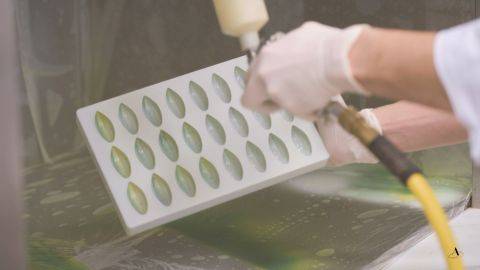
- Place gold powder on a brush and gently blow it onto the mold. Place the mold upside down onto a paper towel and clean it well to remove excess gold powder.
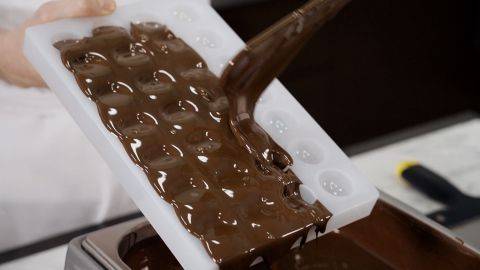
- Use a large spoon to fill the mold with pre-crystallized milk chocolate and make sure the mold is completely filled.
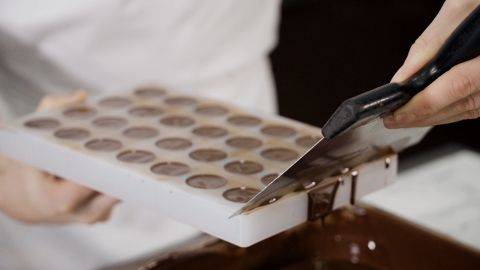
- Remove the excess chocolate with a palette knife and take the chocolate off the mold little by little, starting from the middle of the mold. This will prevent the mold from getting too dirty and having too much chocolate on the sides.
- Tap the mold on the table to remove the air bubbles.
- Turn the mold upside down over your melting kettle and using the handle of your scraper, tap the side of the mold to remove the excess chocolate. Clean the mold using a scraper.
- Place the mold upside down onto a metal tray lined with parchment paper and let the molds set at room temperature until the chocolate fully crystallizes.
- Turn the mold over and remove the excess chocolate using a scraper.Remove the excess chocolate with a palette knife and take the chocolate off the mold little by little, starting from the middle of the mold. Doing so will prevent the mold from getting too dirty and having too much chocolate on the sides.
- Tap the mold on the table to remove the air bubbles.
- Turn the mold upside down over your melting kettle and using the handle of your scraper, tap the side of the mold to remove the excess chocolate. Clean the mold using a scraper.
- Place the mold upside down onto a metal tray lined with parchment paper and let the molds set at room temperature until the chocolate fully crystallizes. Turn the mold over and remove the excess chocolate using a scraper.Transfer the mixture into a piping bag, cut a small tip to control the flow and fill the prepared milk chocolate molds within 1 mm (0.039”) from the top.
- Tap the molds on the table to ensure that the filling is evenly spread in the molds.
- Place in the refrigerator for 15 minutes to promote the crystallization of the filling.
- After 15 minutes, remove from the refrigerator and allow to fully crystallize at 18-20°C (64-68°F) for at least 12 hours and preferably overnight.------IBC black cocoa butter IBC white cocoa butterIBC creative gold powder
View tools
- Metal Tray
- Piping Bag
- Scissors
- Parchment paper
- Gloves
- Soft cloth
- Melting kettle or automatic tempering machine
- Plastic film
- Cacao Barry log snacking bar
- Brush
Crispy Hazelnut Filling
Ingredients: Crispy Hazelnut Filling
Preparation: Crispy Hazelnut Filling
- Combine the hazelnut praliné with the hazelnut paste.
- Melt the chocolates together in the microwave for 30 seconds at a time at high power. Stir and place back in the microwave for an additional 30 seconds. The finale temperature of the chocolate should be 40°C (104°F).
- Transfer the Pailleté FeuilletineTM into a piping bag, lightly crush it using a rolling pin and place back into a bowl.
- Once the chocolate preparation has reached 40°C (104°F), combine well with the hazelnut mixture.
- Pre-crystallize the preparation on the marble to 25-26°C (77-79°F).
- To check whether the crystallization process has been completed correctly: dip a piece of paper into the mixture and place the paper into the refrigerator for 3-5 minutes. If the mixture solidifies on the paper, then the mix has been well crystallized. However, if it has not set after 5 minutes, further crystallize on the table.
- Once the hazelnut mixture is well crystallized, fold the Pailleté FeuilletineTM into the chocolate mixture and mix well until smooth.
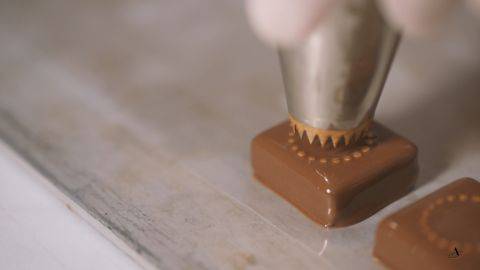
- Transfer the mixture into a piping bag, cut a small tip to control the flow and fill the prepared milk chocolate molds within 1 mm (0.039”) from the top.
- Tap the molds on the table to ensure that the filling is evenly spread in the molds.
- Place in the refrigerator for 15 minutes to promote the crystallization of the filling.
- After 15 minutes, remove from the refrigerator and allow to fully crystallize at 18-20°C (64-68°F) for at least 12 hours and preferably overnight.
View tools
- Metal Tray
- Microwave
- Piping Bag
- Scissors
- Bowl scraper
- Scraper
- Parchment paper
- Heat gun
- Palette knife
- Spoon
- Rolling pin
- Spatula
- Mixing Bowl
Assembly
Ingredients: Assembly
Preparation: Assembly
- Using a heat gun, slightly warm the top of the mold to barely melt the chocolate shells to ensure that the two will join together perfectly when closing the mold with the pre-crystallized chocolate.
- With a spoon, pour pre-crystallized milk chocolate onto the mold and tap it on the table to remove any air bubbles and to make sure that it is completely filled.
- Remove the excess chocolate and clean well with a scraper.
- Tap again to flatten the surface of the bars.
- Place the molds on a metal tray lined with parchment paper and put in the refrigerator for 15-20 minutes to promote the crystallization.
- Remove from the fridge and slightly flex the mold to start unmolding.
- Cover the mold with parchment paper and a metal tray, flip the trays over and tap the mold with a spatula. Carefully lift the molds. If any bars remain in the mold, repeat the same process.
- After unmolding, handle the bars with soft cotton gloves to prevent fingerprints.
View tools
- Metal Tray
- Parchment paper
- Gloves
- Melting kettle or automatic tempering machine
- Heat gun
- Spoon
- Spatula(s)
Facing Problems with your Creations?
- Find troubleshooting guides & tutorials
- Chat live with an advisor chef and find the right solution to your challenges


Comments
Submitted by Valerie Bourdelais on Thu, 08/22/2024 - 01:15
I am not seeing the recipe portion for the filling.
Submitted by Miranda K - Ch… on Thu, 08/22/2024 - 22:25
In reply to I am not seeing the recipe… by Valerie Bourdelais
You're correct; the filling recipe is missing. Thanks for the heads-up, Valerie!
We'll get to work on updating the recipe here. In the meantime, I'm pasting the missing info below:
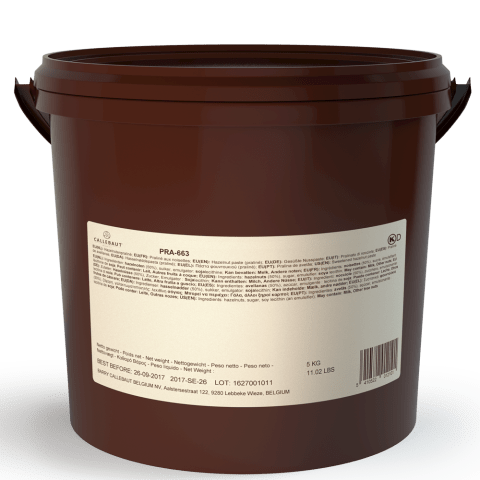
113 g Callebaut hazelnut praliné - 50%hazelnuts
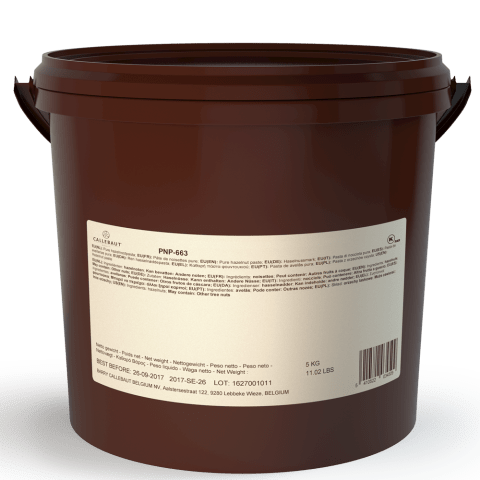
226 g Callebaut pure roasted hazelnut paste - 100% hazelnuts
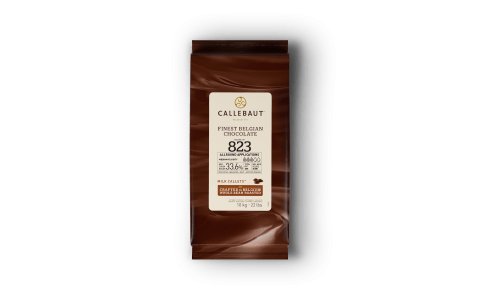
68 g Callebaut 823 Belgian milk couverture 33.6%
31 g Callebaut 811 Belgian dark couverture 54.5%
62 g Cacao Barry Pailleté Feuilletine™
Combine the hazelnut praliné with the hazelnut paste.
Melt the chocolates together in the microwave for 30 seconds at a time at high power. Stir and place back in the microwave for an additional 30 seconds. The finale temperature of the chocolate should be 40°C (104°F).
Transfer the Pailleté FeuilletineTM into a piping bag, lightly crush it using a rolling pin and place back into a bowl. Once the chocolate preparation has reached 40°C (104°F), combine well with the hazelnut mixture.
Pre-crystallize the preparation on the marble to 25-26°C (77-79°F).
To check whether the crystallization process has been completed correctly: dip a piece of paper into the mixture and place the paper into the refrigerator for 3-5 minutes. If the mixture solidifies on the paper, then the mix has been well crystallized. However, if it has not set after 5 minutes, further crystallize on the table.
Once the hazelnut mixture is well crystallized, fold the Pailleté Feuilletine™ into the chocolate mixture and mix well until smooth.
Transfer the mixture into a piping bag, cut a small tip to control the flow and fill the prepared milk chocolate molds within 1 mm (0.039”) from the top.
Tap the molds on the table to ensure that the filling is evenly spread in the molds.
Place in the refrigerator for 15 minutes to promote the crystallization of the filling.
After 15 minutes, remove from the refrigerator and allow to fully crystallize at 18-20°C (64-68°F)