
Medium
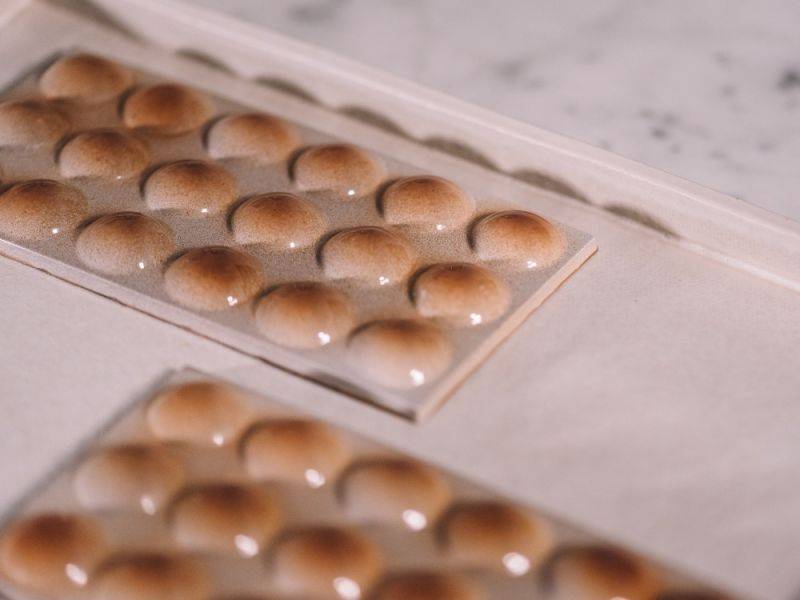
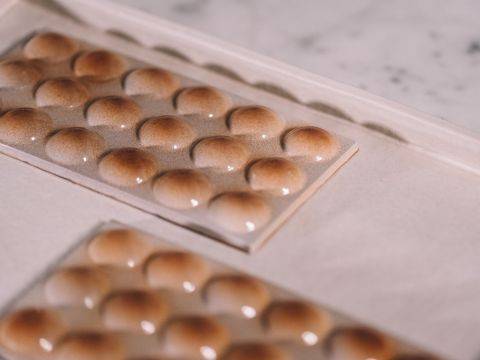
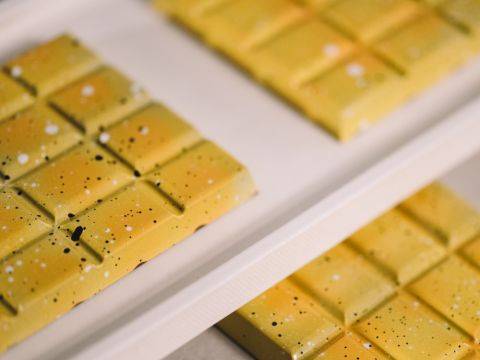
Here's your new best-seller tasting concept: the Discovery Tablet. The pistole mold allows you to play and make 3 or 6 rows of different flavors in one bar.Here's your new best-seller tasting concept: the Discovery Tablet. The pistole mold allows you to play and make 3 or 6 rows of different flavors in one bar.Here's your new best-seller tasting concept: the Discovery Tablet. The pistole mold allows you to play and make 3 or 6 r...
- Shelf life:
- 6 Weeks
- Conservation:
- Between 8ºC - 16ºC
Containing: 2 Components
Molding
Ingredients: Molding
-
Q.S.F031397
Preparation: Molding
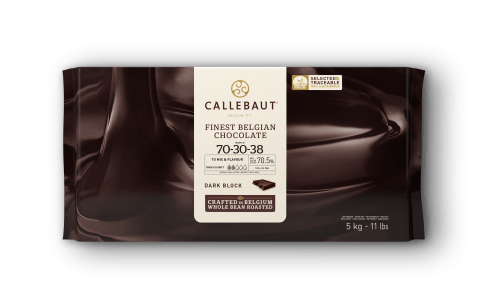
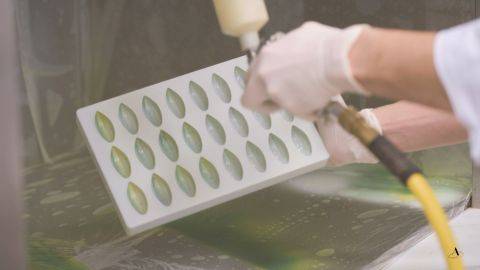
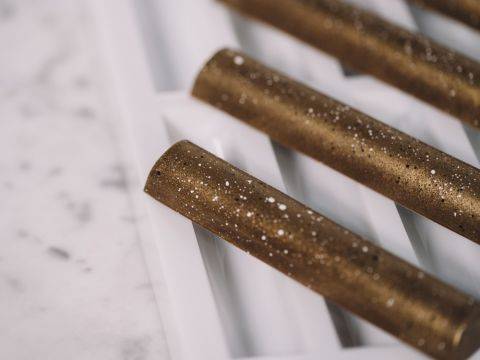
- Prepare a mixture made of 50% of melted dark chocolate and 50% of cocoa butter. Add some red colored cocoa butter into the mixture to give it a warmer color.
- Pour the mixture into a piping bag, cool off on the table and transfer into the spray gun. The spray gun should have the same temperature as the mix, around 30-32°C (86-90°F).
- Spray all the cavities one by one. Maintain the same distance and pressure at all times to obtain an even result.
- Place the mold upside down onto a paper cloth, clean it well and let set at 16-18°C (61-64°F).
- Spray the white cocoa butter using the same procedure.
- Repeat with the forsythia cocoa butter and let it set.
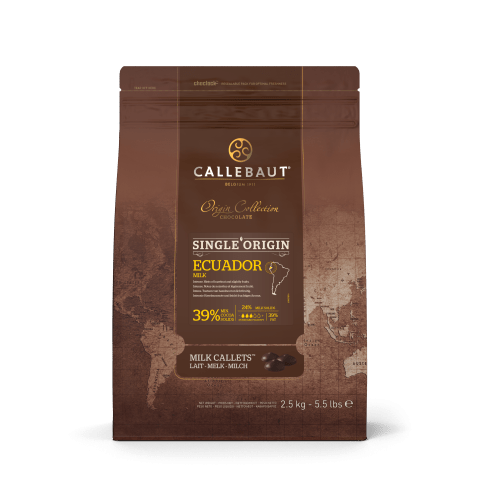
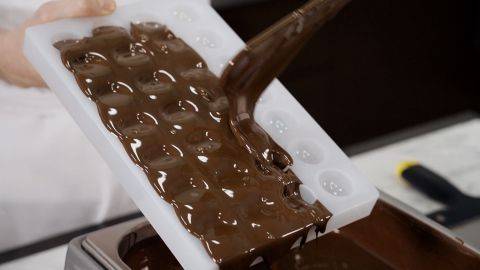
- Mold with pre-crystallized milk chocolate. Use an automatic tempering machine or a melting kettle.
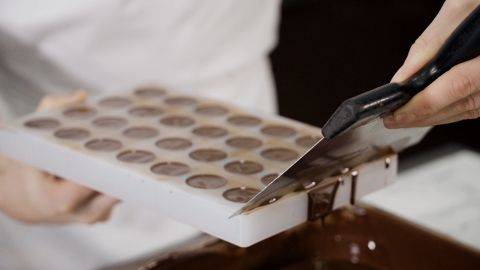
- Remove the excess chocolate with a palette knife and put the mold on the vibration table to remove all the air bubbles.
- Turn the mold upside down on the vibration table to create the shell and immediately place it facing upwards on a tray lined with parchment paper.
- Let the chocolate set for a few minutes, clean the surface of the mold with a scraper and let the chocolate crystallize at 18-20°C (64-68°F).
Tools
- Metal Tray
- Piping Bag
- Scissors
- Scraper
- Parchment paper
- Spray gun
- Mixing bowl (s)
- Melting kettle or automatic tempering machine
- Scale
- Palette knife
- Spoon
- Cacao Barry pistoles tablette mold
- Paper cloth
- Spatula
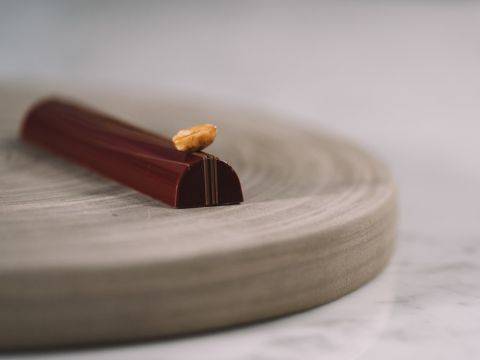
Hazelnut Praliné
Ingredients: Hazelnut Praliné
Preparation: Hazelnut Praliné
- Add 25% of pre-crystallized milk chocolate to the praliné to maintain a smooth texture. To obtain a harder texture, add more chocolate.
- Mix the chocolate and the praliné together until completely homogeneous.
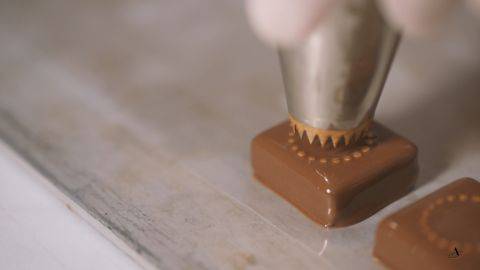
- Transfer into a piping bag, cut off the tip and immediately start filling the mold.
- Put the mold into the fridge at 10°C (50°F).
- Once the filling has set, take the mold out of the fridge and leave it at 18-20°C (64-68°F) for about 15-20 minutes. This is important in order to avoid a thermal shock when closing the mold with crystallized chocolate.
- Slightly heat the surface of the mold to soften the edges of the chocolate shell. This will help sticking the two chocolate layers together.
- Use the large scraper to remove the excess chocolate at once, clean the edges, put the mold back into the fridge and let it set.
- Once the chocolate has completely contracted, place a sheet of parchment paper and a metal tray on top of the mold.
- Flip the trays upside down, remove the tray and parchment paper and carefully unmold.
- Store your finished products at 16-18°C (61-64°F).
Tools
- Metal Tray
- Piping Bag
- Scissors
- Scraper
- Parchment paper
- Mixing bowl (s)
- Melting kettle or automatic tempering machine
- Heat gun
- Spatula
Need support with your chocolate confections?
- Find troubleshooting guides & tutorials
- Chat live with an advisor chef and find the right solution to your challenges


Comments