
Easy
Makes: 20
-
Good to go
-
Timeless Classics
-
Quick & easy (production)
-
Good for freezing
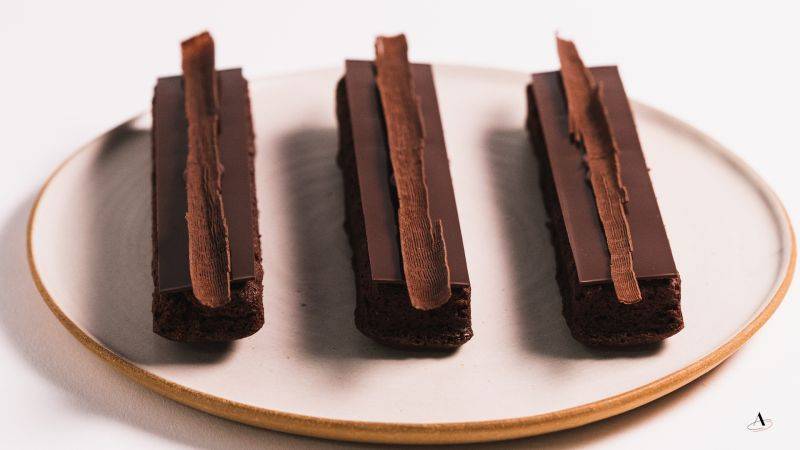
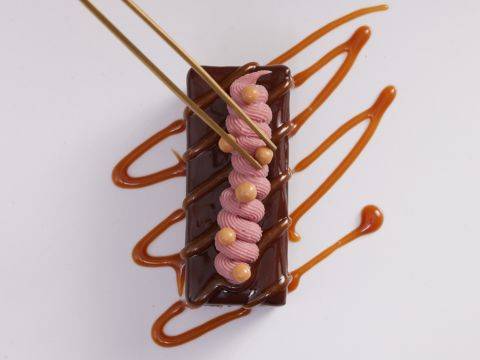
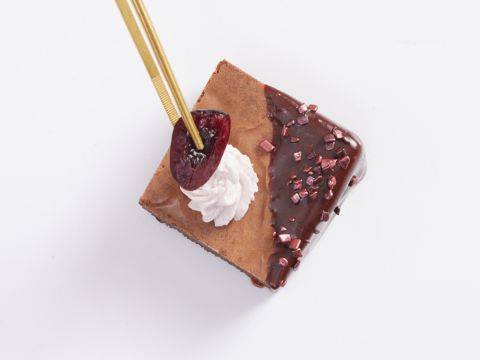
Ready for a game-changer? This basic brownie finger has a great texture as well as a rich chocolate flavor. It is easy to make, and it presents very well. The potato starch in the base mix creates a sublime soft texture in the brownie.Ready for a game-changer? This basic brownie finger has a great texture as well as a rich chocolate flavor. It is easy to make, and it presents very well. The potato starch in the base mix creates a sublime soft texture in the brownie.Ready for a game-changer? This basic brownie finger has a great texture as well as a rich chocolate flavor. It is easy t...
- Shelf life:
- 3 Days
- Conservation:
- Refrigeration at 4ºC
Containing: 4 Components


Base Brownie Mix
Ingredients: Base Brownie Mix
-
7.3 ozButter 82% fat
-
5.7 ozsugar
-
5.7 ozDark brown sugar
-
1.8 ozCP
-
4.1 ozAll purpose flour
-
2.2 ozpotato starch
-
0.1 ozsea salt
-
8.1 ozWhole eggs, at 18- 20°C (64-68°F)
Preparation: Base Brownie Mix
- Melt together the butter and chocolate in the microwave in 30 seconds bursts. Mix well using a spatula, until all the chocolate is melted.
- Add the dry ingredients and whisk well between each addition.
- Then, add the eggs at the end.
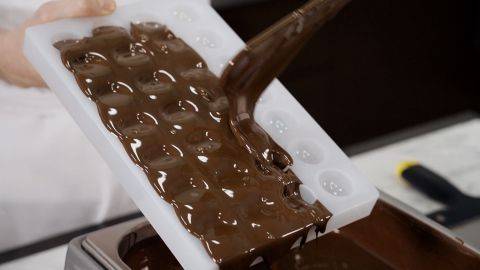
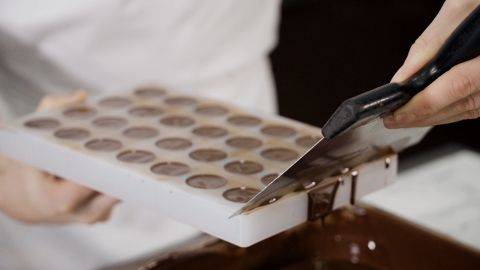
- Place the batter into a piping bag.
- Pipe into the molds and bake at 160°C (320°F) for 12 minutes.
- Once baked, place them in the freezer until completely cold, for about 30 minutes.
- Once cooled, unmold the brownies and place them on a metal tray lined with parchment paper.
- Place in the refrigerator and reserve for the assembly.
View tools
- Metal Tray
- Whisk
- Microwave
- Piping Bag
- Scissors
- Bowl(s)
- Parchment paper
- Gloves
- Mixing bowl (s)
- Demarle Mold FX02113
- Spatula(s)
Chocolate Decoration
Ingredients: Chocolate Decoration
Preparation: Chocolate Decoration
- Pour some pre-crystallized chocolate on a guitar sheet and, using an offset spatula, spread it out evenly to obtain a thin layer.
- Let set for a few minutes until the chocolate does not stick anymore to your fingers.
- Remove from the guitar sheet and place the chocolate layer on a guitar cutter.
- Using a metal scraper, press down the plastic on the the guitar cutter to make lines of 2 cm (0.8”).
- Place the chocolate sheet on the marble table and, using the guitar cutter’s wires as guidelines and a knife, cut into rectangles of about 12 cm (4.7”) long.
- Place a guitar sheet on top of the chocolate decorations, and place between two metal trays.
- Let crystallize in the refrigerator for about 1 hour at 16°C (61°F).
View tools
- Metal Tray
- Knife
- Offset spatula
- Guitar sheets
- Metal Scraper
- Bowl (s)
- Guitar cutter 30 x 30 cm (12” x 12”)
Chocolate Shavings Decorations
Ingredients: Chocolate Shavings Decorations
Preparation: Chocolate Shavings Decorations
- Pour some pre-crystallized chocolate on the marble table.
- Using a spatula, spread it out evenly to form a thin layer.
- Let crystallize for a few minutes until the chocolate is almost solid.
- Using a spatula, delicately scrape the chocolate layer and spread the decorations out onto a metal tray lined with a Silpat.
- Place in the refrigerator for at least one hour at 16°C (61°F).
View tools
- Metal Tray
- Offset spatula
- Metal Scraper
- Bowl (s)
- Silpat (s)
Assembly
Ingredients: Assembly
Preparation: Assembly
- Remove the guitar sheet from the top of the chocolate decorations.
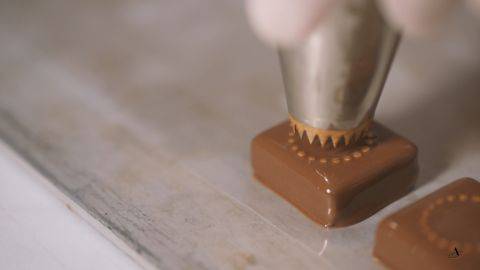
- Using a paper cone, add a small dot of chocolate on top of the brownie and place a rectangle decoration on top, gently pressing so that it sticks to the brownie.
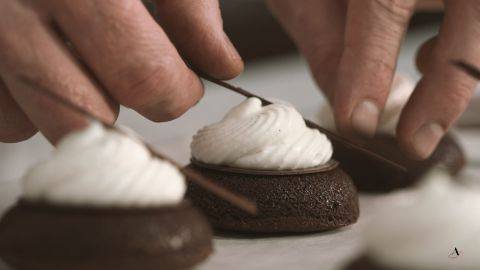
- Place a second dot of chocolate in the middle of the chocolate bar and add a shaving decoration on top.
View tools
- Paper cones
Facing Problems with your Creations?
- Find troubleshooting guides & tutorials
- Chat live with an advisor chef and find the right solution to your challenges


Comments