How to Work with the 5 Colours of Chocolate
How to Work with the 5 Colours of Chocolate

Fluidity and the Drop System
Callebaut offers a wide range of fluidity levels for each of its chocolate recipes. It’s important to know that all of the chocolates with the same recipe number taste the same, although the amount of cocoa butter they contain differs. The fluidity of a particular chocolate is indicated on the packaging with a drop symbol system. Depending on the application, it’s crucial to choose a chocolate with the right amount of cocoa butter in it:
- Chocolate with a one-drop fluidity: great for infusing, e.g. fillings, buttercream or ice cream with a hint of chocolate taste;
- Chocolate with a two-drop fluidity: perfect for large moulded chocolate figures;
- Chocolate with a three-drop fluidity: extremely versatile, ideal for any application;
- Chocolate with a four-drop fluidity: best choice for moulded chocolates with a thin chocolate shell or (sharply) angular chocolate moulds;
- Chocolate with a five-drop fluidity: excellent for applying a thin layer of chocolate on top of biscuits with a large surface.

Tempering Gold, Ruby, Milk, Dark, and White Chocolates
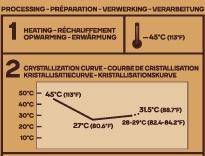
Tempering chocolate is pre-crystallizing the cocoa butter in chocolate. It ensures the chocolate will become hard and shiny during cooling. Good tempering also guarantees that moulded chocolate products can be easily removed from the moulds after cooling.
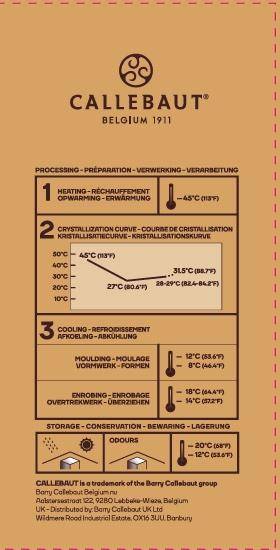
An overview of the crystallization process:
- Melt the chocolate to a temperature between 40° and 45°C.
- Bring down the temperature of the melted chocolate using your preferred method until it reaches the lowest temperature on the curve or until it begins to thicken, depending on your chosen method.
- The third temperature indicates the proper working temperature for the chocolate. You may wish to use a slightly higher or lower temperature depending on your application; this is why a small temperature range is indicated.
- Always test your chocolate before beginning your project by taking a small sample and verifying that it has been properly crystallized.
- Do not allow the chocolate’s temperature to rise above the final temperature indicated on the curve.
Chef Russ Thayer offers an in-depth look at what happens during the crystallisation process in the video below. You can learn the different methods for tempering chocolate in the videos at the bottom of the page.
Crystallisation Curves for Each of the 5 Colours of Chocolate
-
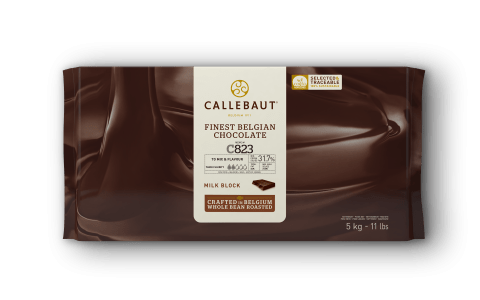
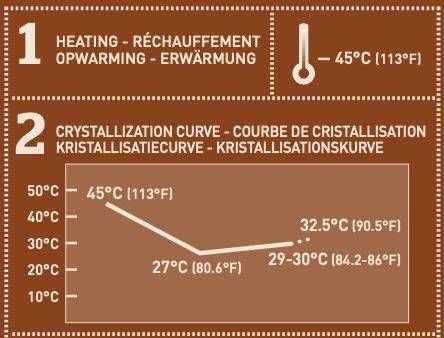 Crystallisation Curve for 823
 -
 Crystallisation Curve for 811
 -
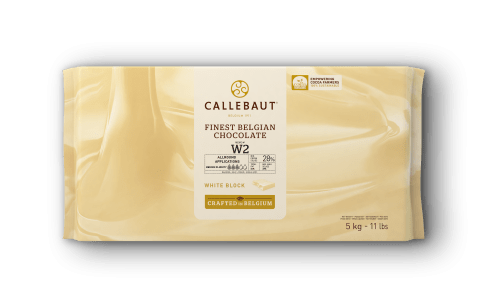
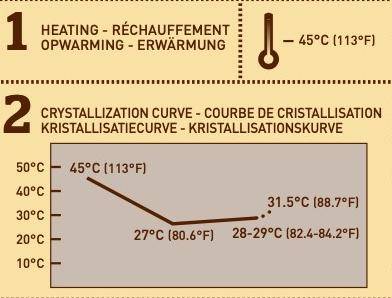 Crystallisation Curve for W2
 -
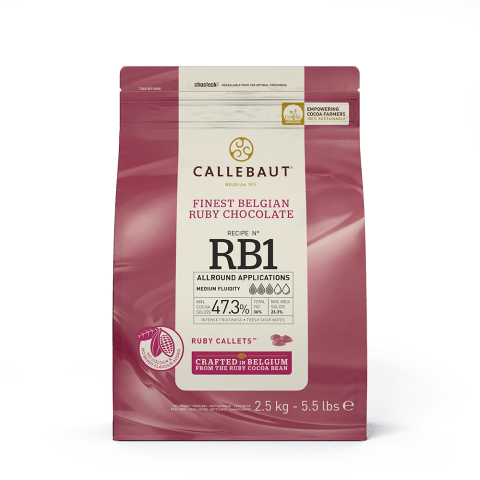
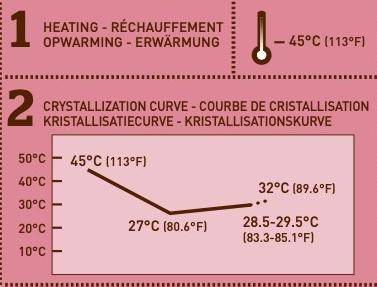 Crystallisation Curve for Ruby
 -
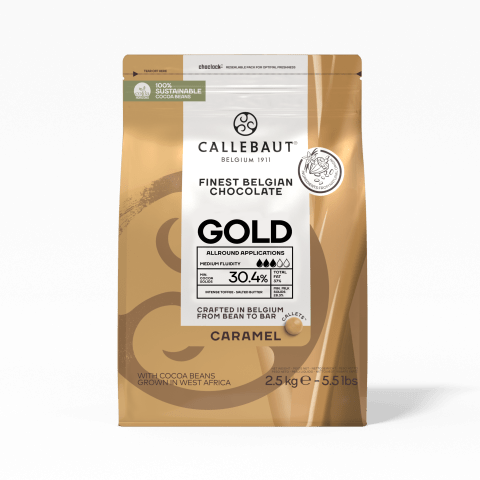
 Crystallisation Curve for Gold


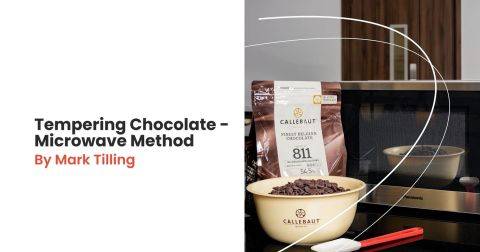
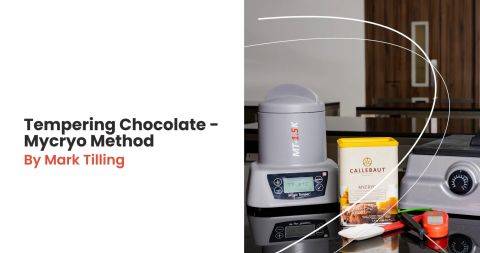
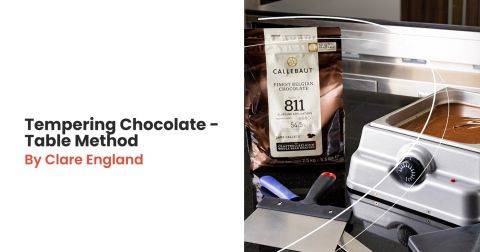
Learn the Different Methods for Tempering Chocolate
Use these methods when your recipe calls for tempered, crystallised, or pre-crystallised couverture. No one method is better than another. Find the one that works for you based on your skill level, equipment, and the amount of pre-crystallised chocolate you need.