
Easy
Makes: 49
-
Timeless Classics
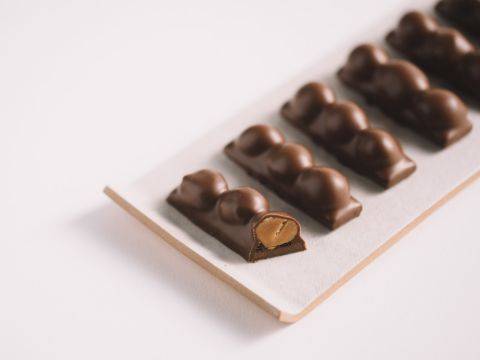
The cacao nibs and the pailleté feuilletine give a crunchy texture which balances well with the smoothness of the milk chocolate.The cacao nibs and the pailleté feuilletine give a crunchy texture which balances well with the smoothness of the milk chocolate.The cacao nibs and the pailleté feuilletine give a crunchy texture which balances well with the smoothness of the milk c...
- Shelf life:
- 6 Months
- Conservation:
- 16ºC
Containing: 1 Component
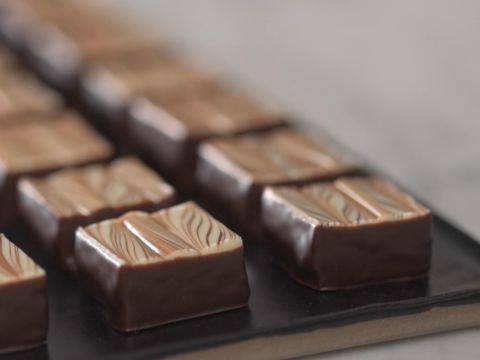
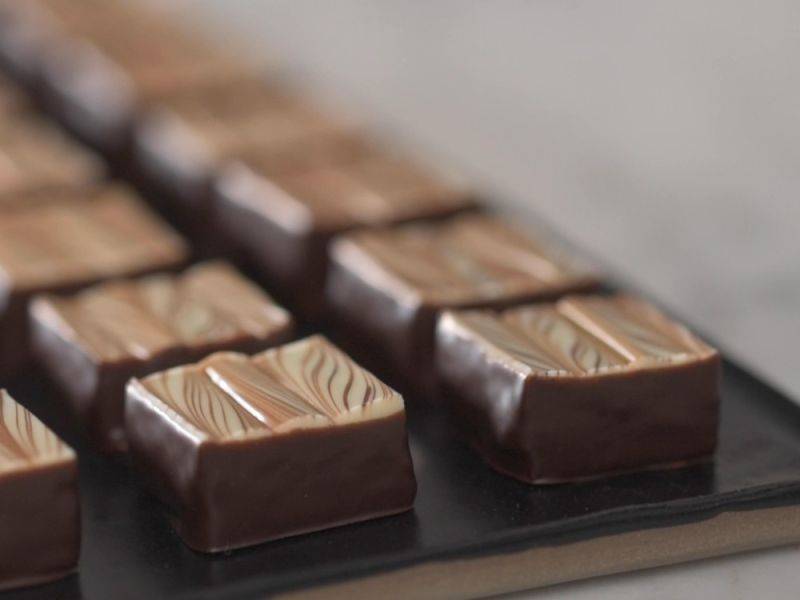
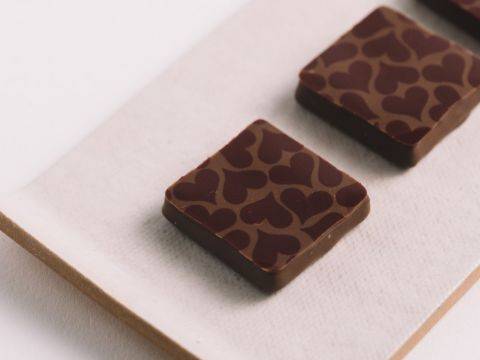
Hazelnut Bonbon
Ingredients: Hazelnut Bonbon
-
320 g
-
Q.S.
-
Q.S.
-
500 gCallebaut Hazelnut Paste PNP
-
120 gcallebaut pailleté feuilletine
Preparation: Hazelnut Bonbon
- Using a soft cloth, wet the metal tray with water and attach a guitar sheet on top of it.
- Remove the air bubbles with a cloth.
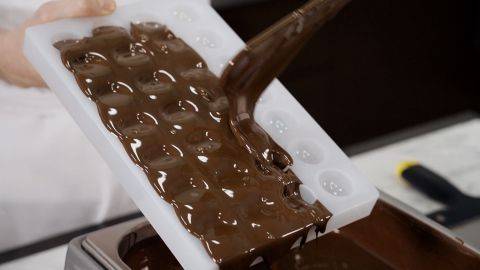
- Pour a thin layer of pre-crystallized dark chocolate, this will be the top layer of the bonbons, and immediately place an 8 mm (0.31”) frame on top of the chocolate layer.
- Mix the hazelnut praliné, milk chocolate, pailleté Feuilletine and roasted cocoa nibs together. Then, pour the preparation into the frame and spread it evenly.
- Tap the tray on the table to make sure that the filling is evenly spread out and place in the refrigerator until solid enough to be cut, for about 15-20 minutes.
- Take out of the refrigerator and leave the slab at 16-18°C (61-64°F) for 15-20 minutes in order to avoid a thermic shock.
- Pour pre-crystallized dark chocolate on top of the praliné. This bottom layer is import-ant to avoid the filling to stick to the dipping fork or enrobing belt.
- Let set at 18-20°C (64-68°F) until the chocolate is solid enough.
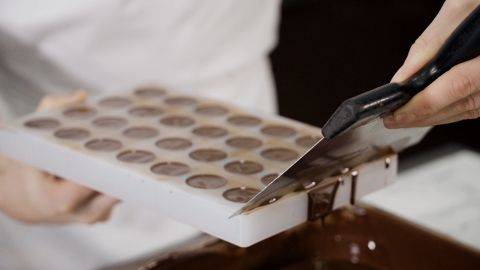
- Once solid enough, remove the 8 mm (0.31”) frame by cutting the edges using a sharp knife and gently remove the plastic sheet.
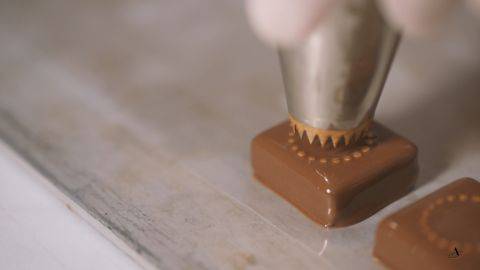
- Prepare a paper cone filled with pre-crystallized dark chocolate to decorate the slab.
- Pour white chocolate on top of the slab and spread it evenly with a palette knife.
- Decorate the top of the white chocolate layer with thin dark chocolate lines and using a knife, draw lines in two directions to create a millefeuille effect.
- Let set at 16-18°C (61-64°F) until solid enough to be cut.
- Using a guitar cutter, cut the slab in one direction. Remove and clean the wires. Then, cut in the opposite direction to obtain squares of 22.5 mm x 22.5 mm (0.89”x0.89”).
- Using a dipping fork, dip every single bonbon into the pre-crystallized dark chocolate until the edge of the praliné, and slowly place them on a metal tray lined with parchment paper. For bigger production, chocolatiers will usually use an enrobing belt.
- Store the finished products at 16-18°C (61-64°F).
Tools
- Metal Tray
- Knife
- Scraper
- Bowl(s)
- Parchment paper
- Soft cloth
- Mixing bowl (s)
- Melting kettle or automatic tempering machine
- Scale
- Palette knife
- Guitar cutter
- Guitar sheets
- Dipping fork
- Paper cones
- 17 cm x 17 cm x 8 mm frame
- Spatula(s)
Need support with your chocolate confections?
- Find troubleshooting guides & tutorials
- Chat live with an advisor chef and find the right solution to your challenges


Comments
Submitted by ppeeters on Fri, 01/14/2022 - 19:56
Simple but very good recipe, the feuilletine, cocoa nibs and praline with milk chocolate is one of my favorite.