
-
Good to go
-
Long shelflife
-
Healthy
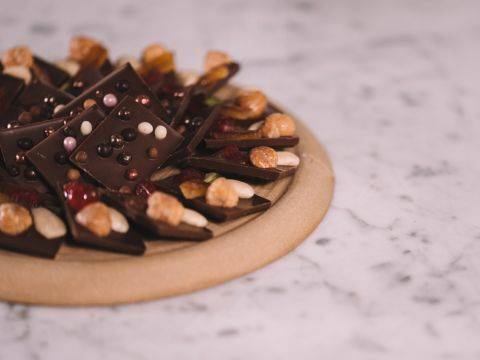
These vegan chocolate bites are made with two different layers. The first one features nuts, seeds, and dried fruits. The second layer is pure hazelnuts with chocolate. This creates a nice balance, not too sweet nor too strong.These vegan chocolate bites are made with two different layers. The first one features nuts, seeds, and dried fruits. The second layer is pure hazelnuts with chocolate. This creates a nice balance, not too sweet nor too strong.These vegan chocolate bites are made with two different layers. The first one features nuts, seeds, and dried fruits. Th...
- Shelf life:
- 60 days
- Conservation:
- Between 12°C - 18°C
Containing: 5 Components


Nut and Fruit Paste
Ingredients: Nut and Fruit Paste
-
3.5 ozpecans, roasted and chopped
-
3.5 ozdates
-
3.5 ozRaisins
-
0.9 ozFlax seeds, roasted
-
0.9 ozMaple syrup
-
1.8 ozCoconut, shredded, unsweetened
-
3.0 oz
Preparation: Nut and Fruit Paste
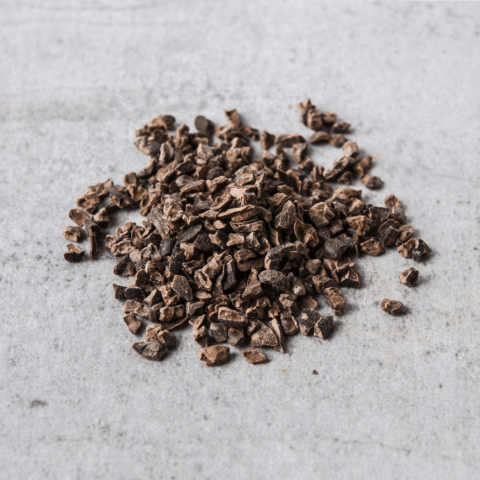
- Blend the roasted pecans, dates, raisins, flax seeds, cocoa nibs, cocoa powder, coconut and maple syrup together in the Thermomix until smooth.
- Combine the blended mixture with the precrystallized chocolate until it is well mixed.Pour the paste into the prepared frame and work it into the frame using the offset spatula.
- Cover with a sheet of parchment paper and even the top by rolling with a rolling pin.
- Reserve at room temperature.
Tools
- Bowl(s)
- Parchment paper
- Offset spatula
- Gloves
- Mixing bowl (s)
- Thermomix®or blender
- Rolling pin
- Prepared frame
- Spatula(s)
Chocolate Base
Ingredients: Chocolate Base
-
4.4 oz
-
0.4 ozgrape seed oil
Preparation: Chocolate Base
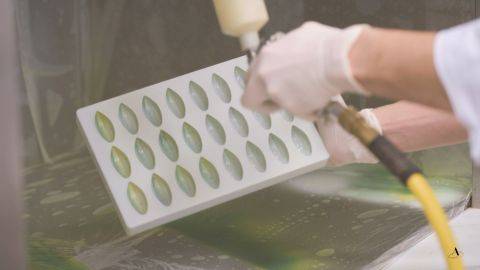
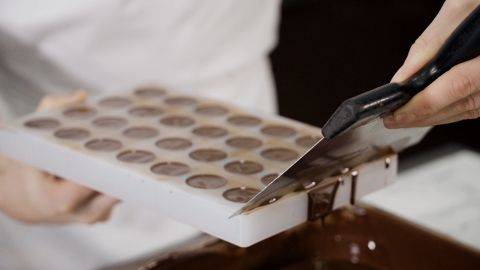
- Pipe a dot of pre-crystallized chocolate on each corner of the plastic board and stick a guitar sheet on the board.
- In a bowl, mix the pre-crystallized chocolate with the grapeseed oil.
- Spread this chocolate mixture on the guitar sheet in a thin layer.
- Place a plastic frame on the chocolate and press down lightly to glue it to the guitar sheet. Allow it to set at 12ºC (54ºF) for 5 minutes or until set.
Tools
- Stamp (s)
- Scissors
- Bowl(s)
- Offset spatula
- Mixing bowl (s)
- Guitar sheets
- Paper cones
- 30 cm x 20 cm x 9 cm frame
- Plastic board
Hazelnut Gianduja
Ingredients: Hazelnut Gianduja
-
8.8 oz
-
Q.S.crushed roasted hazelnuts
Preparation: Hazelnut Gianduja
- Remove the parchment paper from the frame.
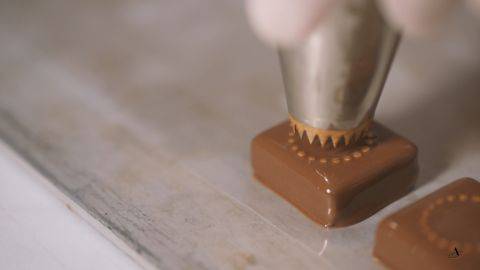
- Pipe a line of chocolate all around the frame and stick the second frame to it by pressing down.
- In a bowl, mix the melted chocolate with the nut paste.
- Pour the mixture onto the counter and temper it with a metal scraper and offset spatula to 25-26ºC (77-79 ºF).
- Mix until it starts thickening.
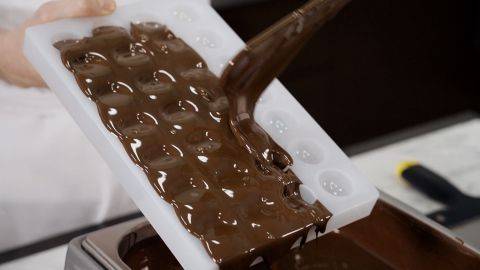
- Transfer the gianduja mix to the frame and spread it evenly.
- Sprinkle with the crushed hazelnuts.
- Cover with a guitar sheet and roll to even the top.
- Allow to set at 12ºC (54ºF) for one hour.
Tools
- Scissors
- Bowl(s)
- Offset spatula
- Mixing bowl (s)
- Rolling pin
- Paper cones
- Metal Scraper
- 30 cm x 20 cm x 9 cm frame
- Prepared frame
- Spatula(s)
Unmolding and Cutting
- Once the gianduja is set, remove the guitar sheet and then cut around the frames and remove them carefully.
- Cut your chocolates using a 3 cm (1.2”) pastry ring. You should get 54 pieces of chocolate.
Tools
- Knife
- Parchment paper
- Gloves
- 3 cm metal ring
Hand Dipping
Ingredients: Hand Dipping
-
Q.S.
Preparation: Hand Dipping
- Place the precrystalized chocolate in a large bowl.
- Warm the dipping fork with a heat gun.
- Place a piece of chocolate candy in the pre-crystallized chocolate. Push it down slightly so the sides are dipped but not the top.
- Place the dipping fork under the chocolate and move it up and down a few times to remove the excess chocolate from the sides.
- Scrape the extra chocolate from the bottom of the candy on the side of the bowl and place the chocolate piece on the transfer sheet.
- Let the chocolates set for at leat 20 minutes at 16-18ºC (61-64ºF).
- Once set, remove them carefully from the transfer sheet.
- Store the finished chocolates at 12-18ºC (54-64ºF) until needed.
Tools
- Gloves
- Mixing bowl (s)
- Heat gun
- Dipping fork
- IBC Transfer Sheet
Need support with your chocolate confections?
- Find troubleshooting guides & tutorials
- Chat live with an advisor chef and find the right solution to your challenges


Comments